
Our Guide to Setting Up Your Gate’s LiftMaster® 's Internet Protocol Access Control
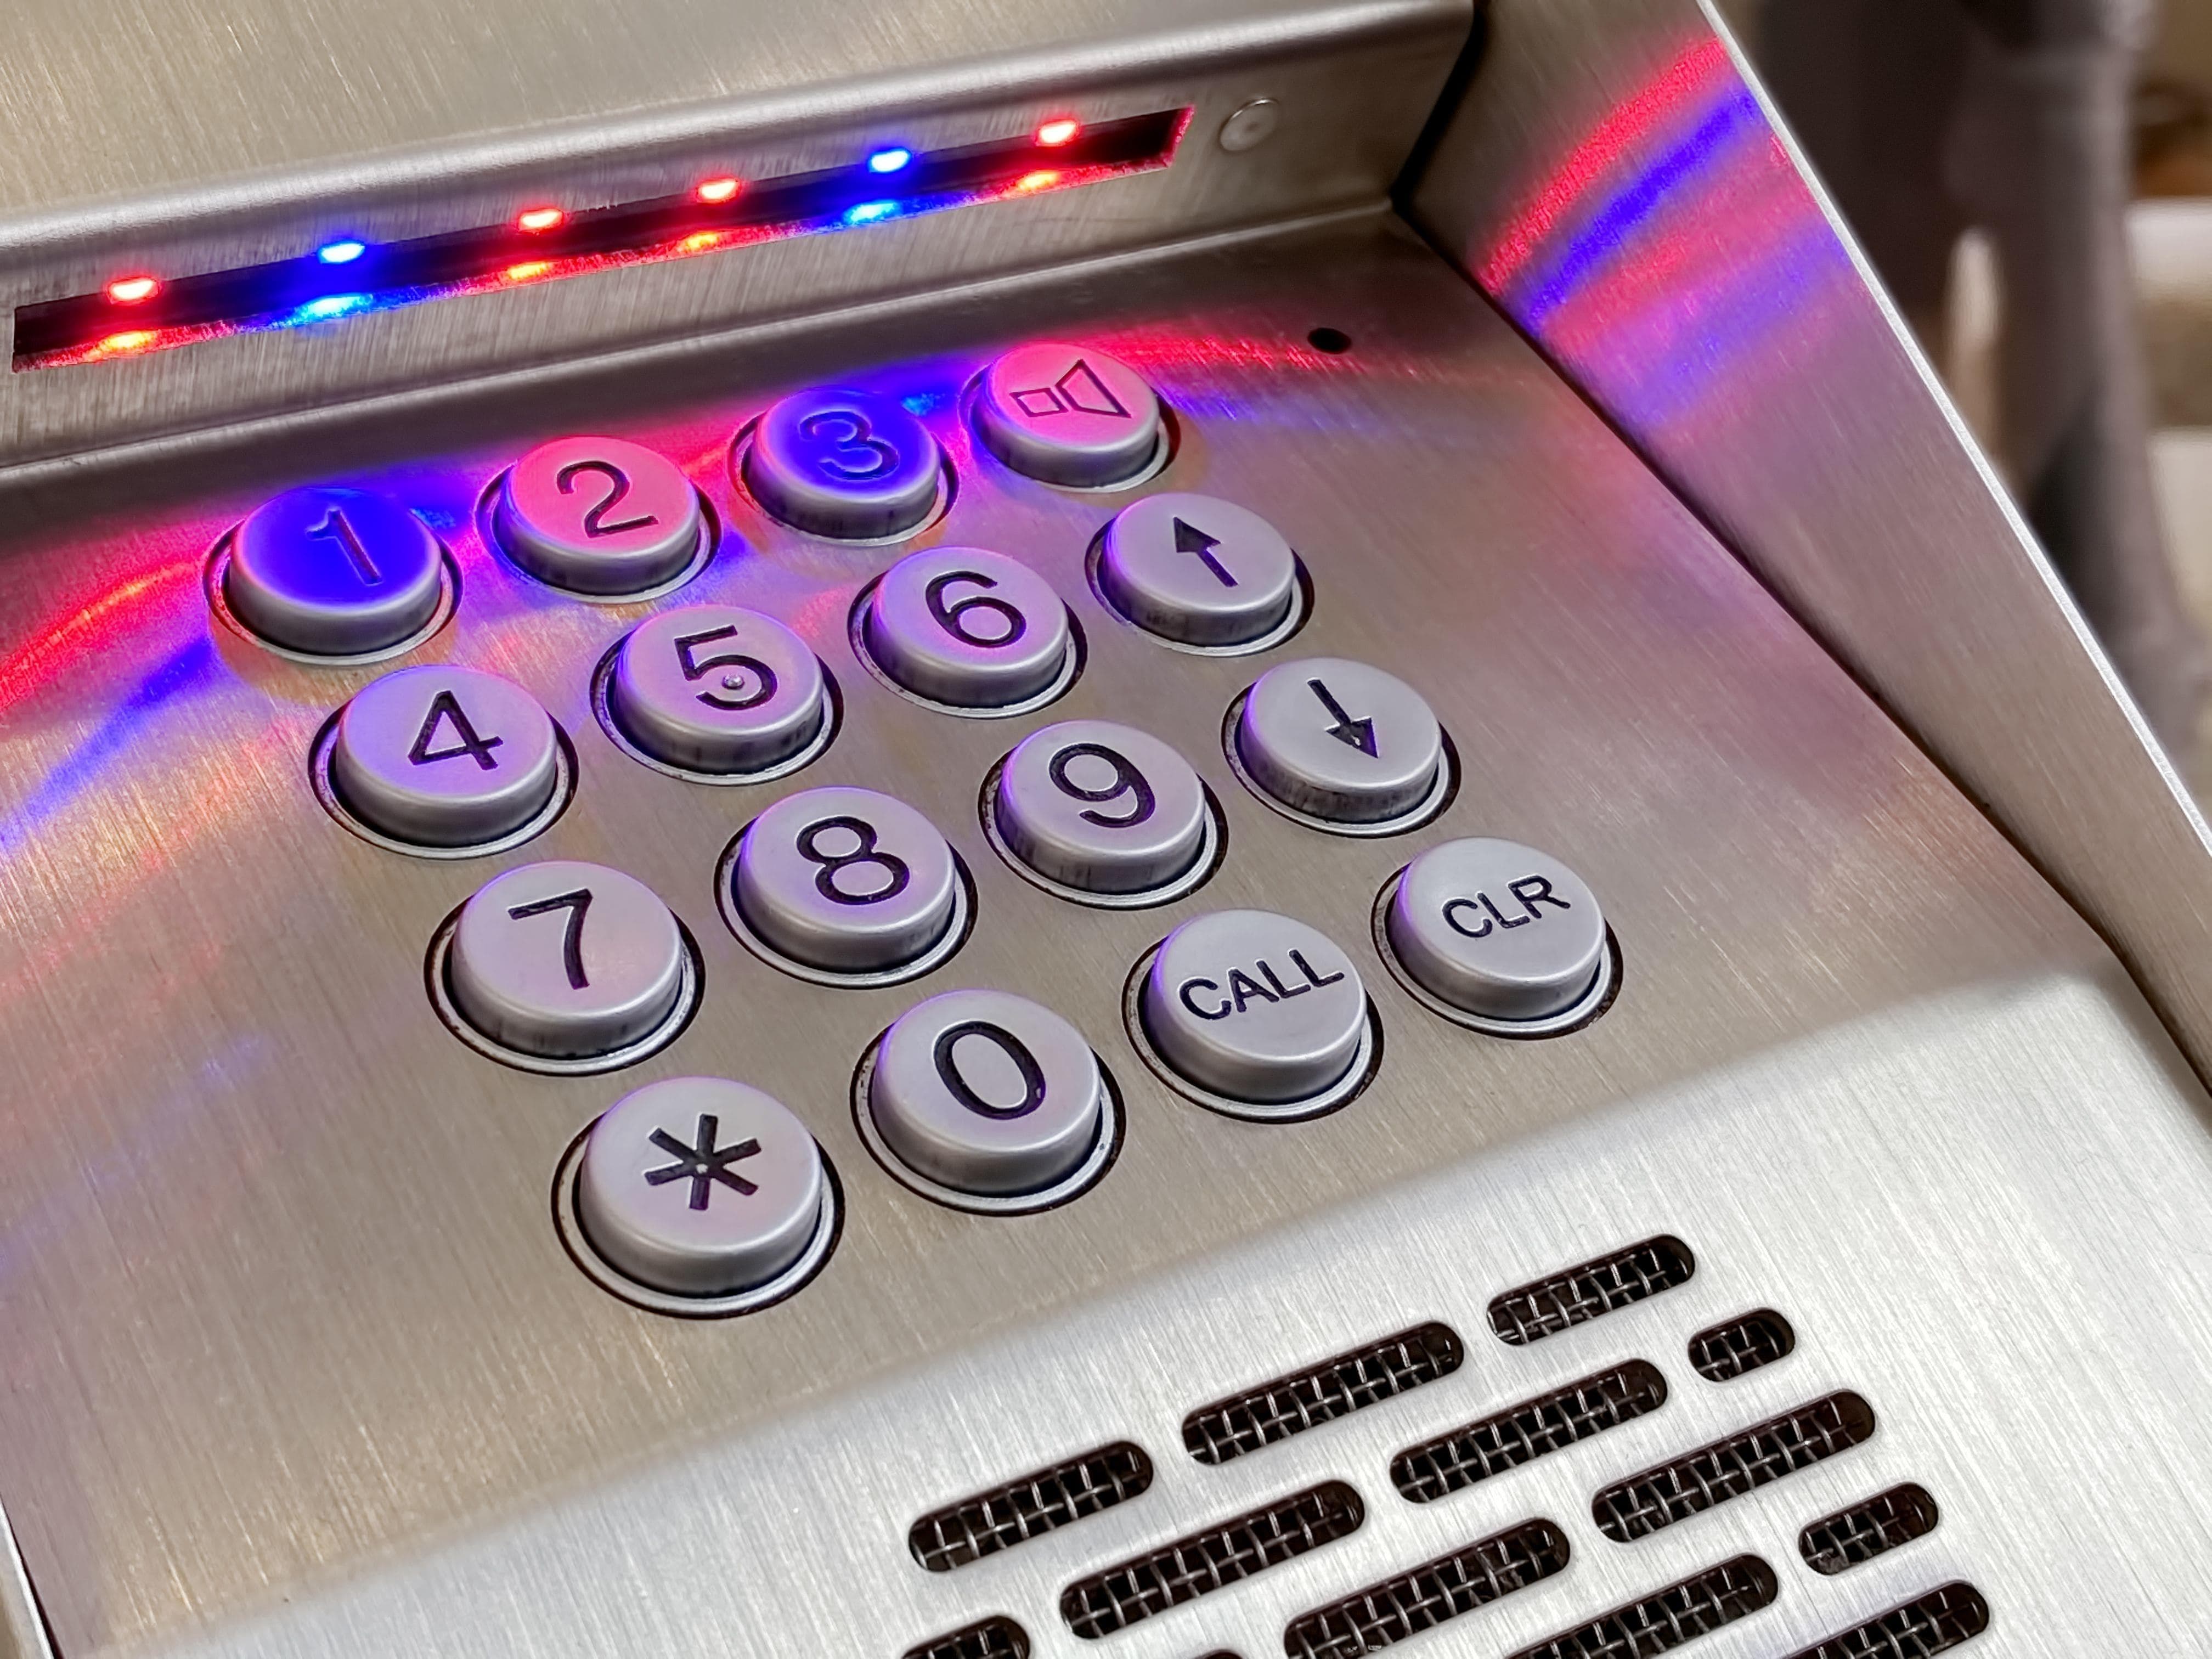
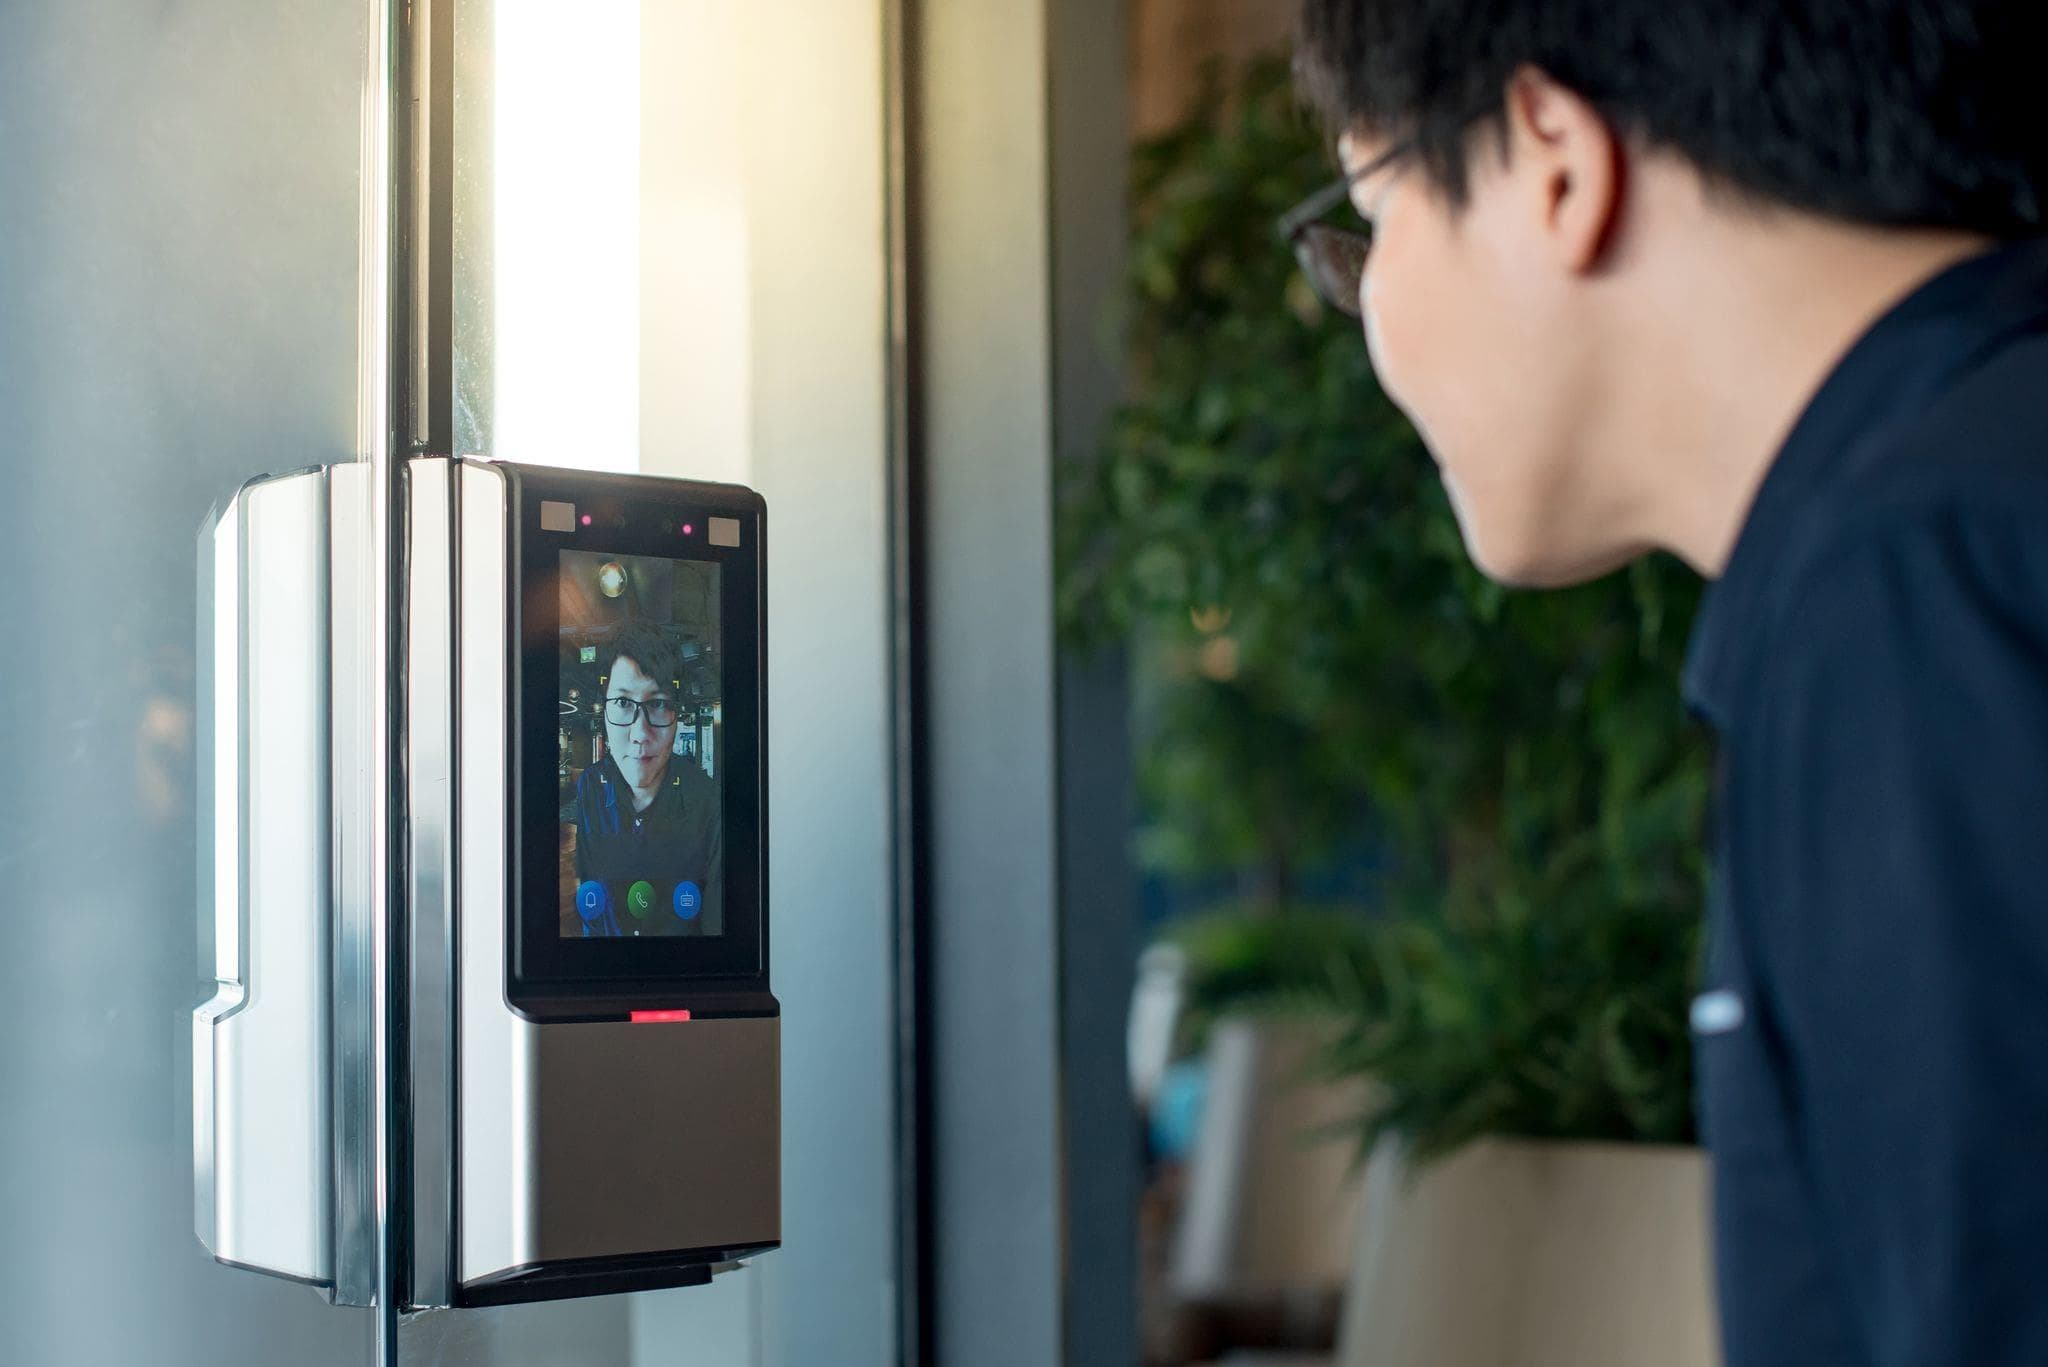
The LiftMaster® Internet Protocol Access Control (IPAC) is the first Internet-enabled outdoor gate access control system with Voice-over-Internet Protocol (VoIP). When visitors arrive, they can use the built-in touchscreen with an integrated keypad to type in a name or department and request entry. This intuitive and easy-to-operate unit is perfect for apartment complexes, gated communities, large manufacturing facilities, and more. Here’s an overview of how to install and set up this unit.
1. Site survey
Please refer to the site survey document provided with the unit and record the following settings:
- Internet service provider
- IP address
- Netmask
- Gateway
- Primary DNS
- Secondary DNS
- Server Port
- SIP service provider
- SIP domain
- SIP port (usually 6050)
- SIP username
- SIP password
The unit must be configured with the proper network settings to operate correctly.
2. Mount the unit
To prevent the access control panel from becoming water damaged, avoid installing the LiftMaster® IPAC when it’s raining. The internal components must always be kept free of moisture. Always make sure to do the following:
- Use a punch tool that’s less than 2.5 centimetres (one inch) long to remove the knockouts.
- Attach the provided gaskets.
- Attach the coaxial cable for the antenna to the passport receiver.
- Route the coaxial cable through one of the knockouts.
- Attach the antenna to the bracket and secure it. The antenna must be installed outside the metal enclosure to maximize the radio range.
- Insert the wiring, mount the unit securely to a flat surface, and install the ferrite core.
Make sure the unit is properly sealed to prevent damage to the access control panel.
3. Wire the devices
To correctly wire the LiftMaster® IPAC, you must follow the wiring diagrams provided in the installation manual. Please note that you shouldn’t use the unit’s power supply for a maglock or door strike. You must use a separate AC or DC power supply.
For AC power, install a Siemens S10K30M0V (metal oxide varistor) or equivalent across the power connections controlled by the relay. For DC power, install a 1N4005 diode (or equivalent). There’s a three-amp, 24-volt DC limit on through current for all relays.
4. Install the ground wire
To avoid damaging any gas, power, or underground utility lines, you should contact your local utility companies before digging.
Once you’re ready to begin, connect the ground wire to the LiftMaster® IPAC’s ground lug and run the wire from the unit to a suitable earth ground rod. We recommend using an earth ground rod that extends no more than 3.6 metres (12 feet) from the unit. You can contact the building inspector in your area to make sure you have the correct grounding materials for the installation.
5. Connect the power
The outlet for the unit must be an external, dedicated 120 Vac outlet located within 76 metres (250 feet) of the unit. This outlet should be wired back to its own 10-amp minimum circuit breaker. You’ll need to:
- Connect the 18 AWG wire to the screw terminals on the transformer
- Remove the PWR IN terminal block from the relay board
- Connect the transformer wire to the PWR IN terminal block and then reattach the terminal block to the relay board
- Plug the transformer into the 120 Vac outlet after all the connections have been made
The green LED light on the peripheral board with blink and the green LED on the relay board will light will up once the unit is powered.
6. Connect the ethernet
Connect an ethernet cable from your local area network (LAN) to the LAN port on the peripheral board. You’ll know the cable is correctly connected when the green and amber LED lights on the ethernet port light up and flicker. If the green light doesn’t come on, check the connections on the unit and ethernet hub.
Set the CONFIG switch on the peripheral board to ON and then close and lock the faceplate.
7. Bring the unit online
On the unit’s built-in touchscreen, enter the IP address assigned to your LiftMaster® IPAC. Enter the network settings for Netmask, Gateway, and at least one DNS Server, and then press SAVE.
Press the Network Diagnostics button to check the status of the network connections. If everything looks good, you can open the faceplate on the unit and turn the CONFIG switch to OFF.
8. User agreement
In the address bar of a web browser on a computer, enter the IP address assigned to your LiftMaster® IPAC. You can find this information in the provided documentation packet.
When you first connect to the website, the end-user licence agreement will be displayed. Once you click,” I accept,” the Login page will come up. Use the username Admin, leave the password field blank and click Login. This will take you to the welcome page.
9. Account setup
Enter the first and last name of the account administrator and make sure the “Is an Administrator” box is checked. The default username is Admin; however, we suggest changing the name of the account administrator for security reasons. Here’s what you’ll need to do:
- Enter a password for the account. You’ll be asked to enter the same password twice.
- Use the right setting. The Write Access field will default to Yes. Please do not change this.
- Click Save. Then, continue to the “Account Setup” page.
- Enter the contact information in the required fields and then click “save” and “finish setup.”
After these steps, the unit will need to be configured and validated. You’ll also need to add all users.
Gate Operator Installation, Maintenance and Repairs in Western Canada
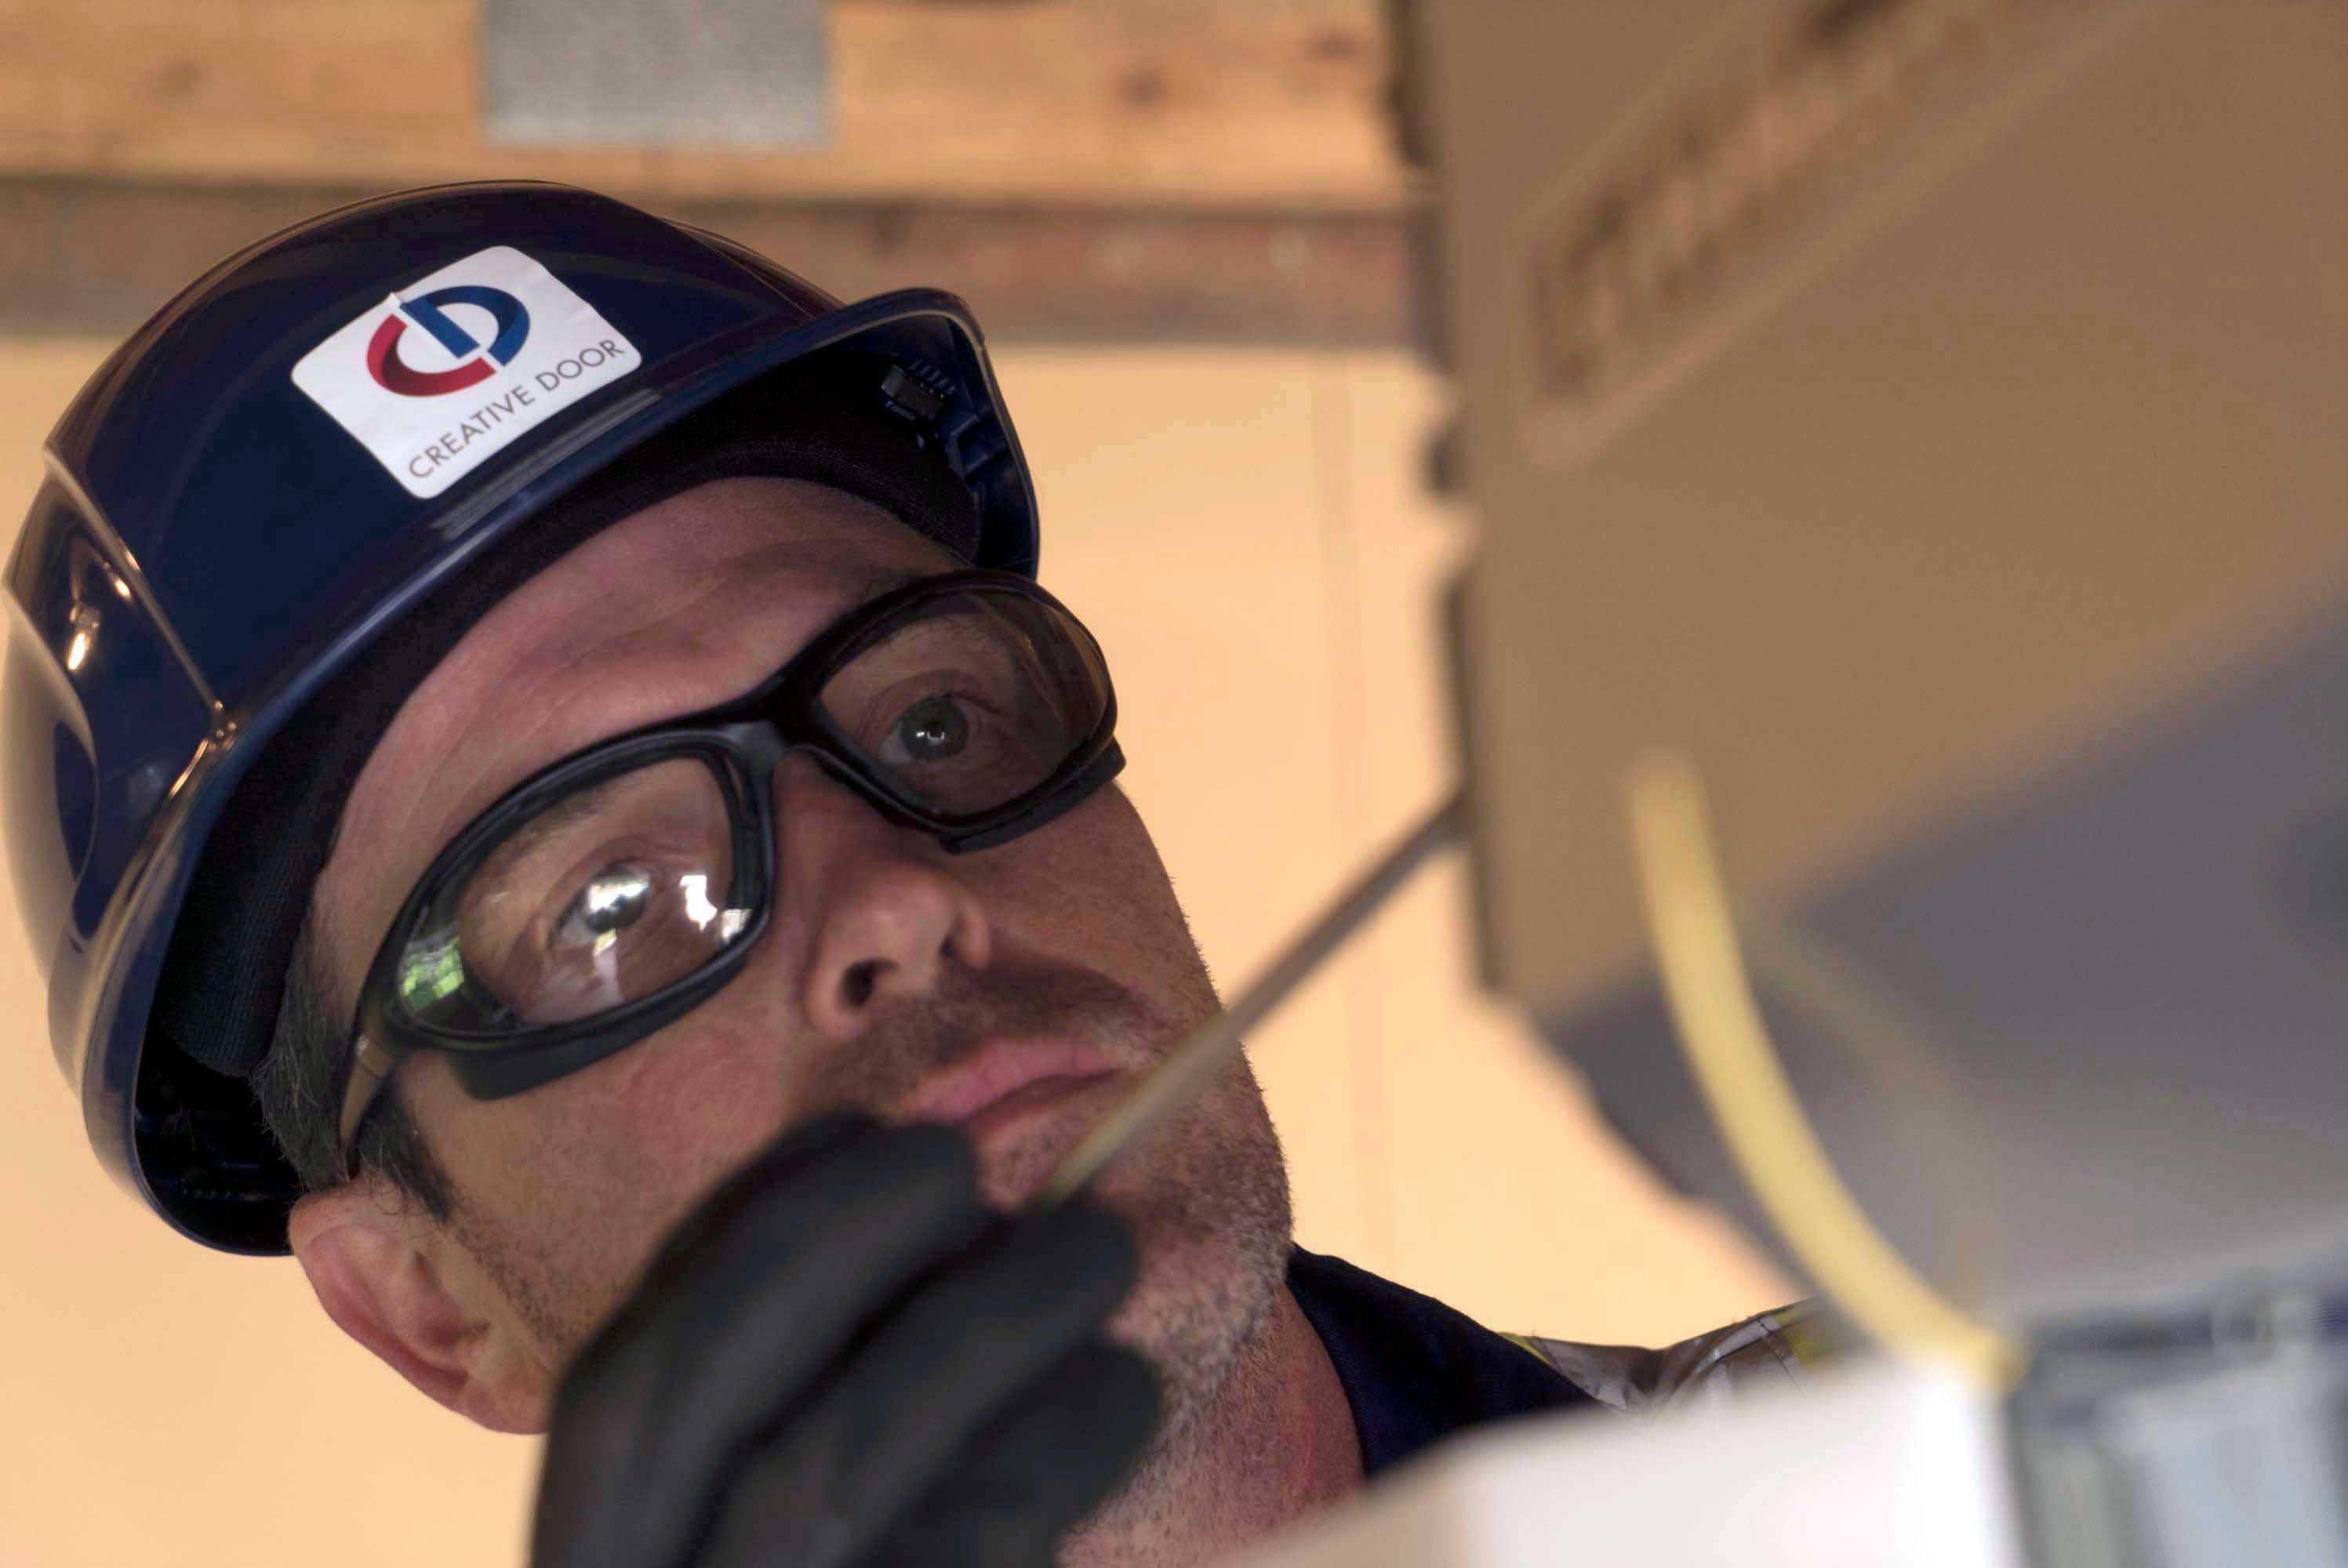
If you need help setting up your new LiftMaster® IPAC system, the team at Creative Door ServicesTM can help. Our expert team will come to your property and ensure the unit is correctly installed according to manufacturer specifications. We also offer a planned maintenance program to ensure your access control system continues to work as intended for years to come.
For a free quote, contact us today. We have eight locations in Western Canada, including Kelowna, British Columbia; Vancouver, British Columbia; Calgary, Alberta; Edmonton, Alberta; Fort McMurray, Alberta; Regina, Saskatchewan; Saskatoon, Saskatchewan; and Winnipeg, Manitoba.